Most pages on your WizShop website, such as your homepage, About Us page, and custom landing pages are built using Elementor. Each Elementor page has two main areas: the left panel where you find and configure elements, and the live preview on the right that updates as you make changes.
Platform: WizShop | Who is this for: Administrators
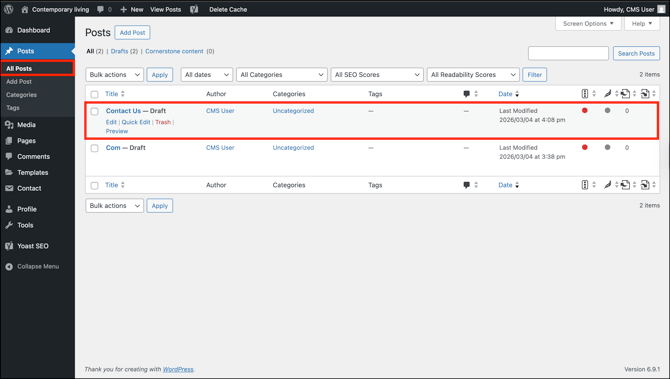
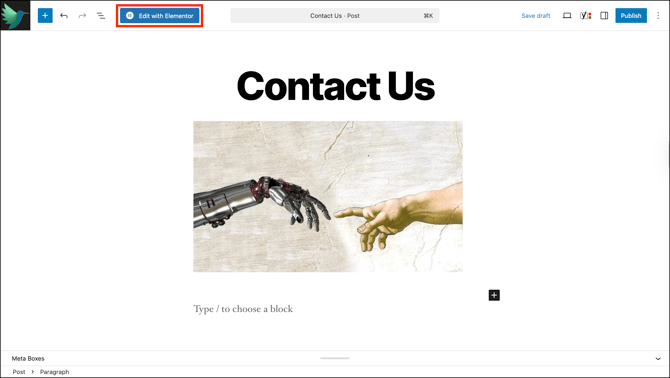
To Get There: WordPress Dashboard > All Posts / Pages > Select a Post / Page > Edit > Edit with Elementor
Before You Begin
- Ensure you have access to WordPress admin panel.
Note: If a page was originally built with Elementor, always use Edit with Elementor to make changes. Editing it through the standard WordPress editor can break the page layout.
A. Finding Your Way Around Elementor
From your WordPress dashboard, go to All Posts → select a Post → click Edit → click Edit with Elementor. The page opens in a visual editor where you can see it exactly as visitors will, and make changes directly on screen.
There are two main areas to know:
- The left panel: Where you find all the elements you can add to your page
- The right side: A live preview of your page that updates as you make changes
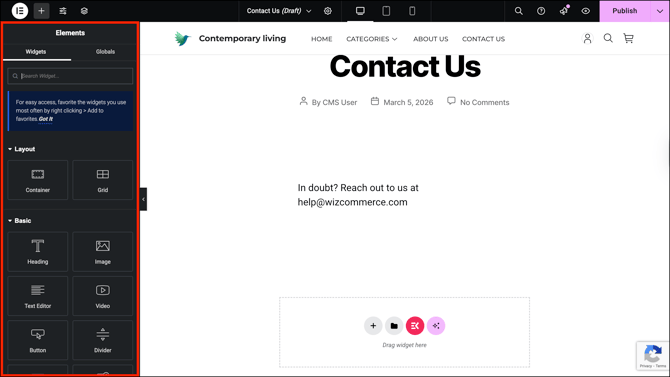
B. The Left Panel
The left panel has two tabs, Widgets and Globals.
Widgets
Widgets are the building blocks you use to build your page — similar to blocks in the WordPress editor. The most commonly used ones are:

Layout: Used to structure and organise your page:
| Widget | What It Does |
|---|---|
| Container | Creates a section to group and organise other elements |
| Grid | Arranges elements in a structured row-and-column layout |
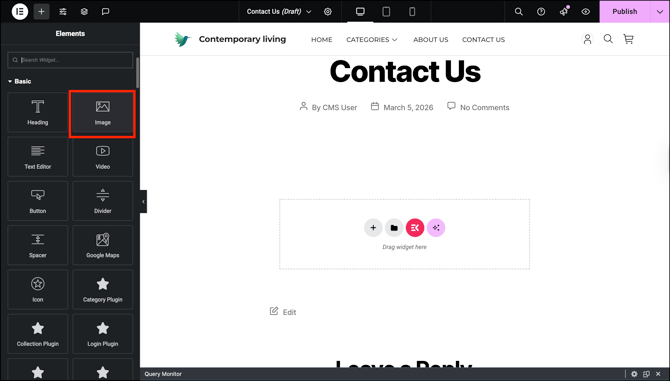
Basic: The most commonly used content elements:
| Widget | What It Does |
|---|---|
| Heading | Adds a title or section header to the page |
| Image | Adds a single image |
| Text Editor | Adds a block of editable body text |
| Video | Embeds a video on the page |
| Button | Adds a clickable button |
| Divider | Adds a horizontal line to separate sections |
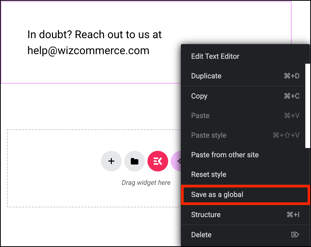
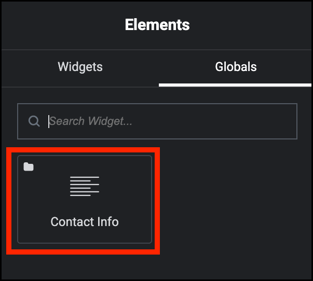
Globals
Let you save a widget as a reusable element that can be placed across multiple pages. When you update a global widget in one place, the change automatically applies everywhere it's used, making it useful for elements like a contact banner or a call-to-action block that appear on multiple pages.
To save a widget as global:
- Click on any element on your page to select it
- Right-click and select Save as Global
- Give it a name and save
- It will now appear in the Globals tab and can be dragged onto any page
Globals
Globals let you save a widget as a reusable element that can be placed across multiple pages. When you update a global widget in one place, the change applies everywhere it's used — useful for elements like a contact banner or a call-to-action block that appear on multiple pages.
To save a widget as global:
- Click on any element on your page to select it.
- Right-click and select Save as Global.
- Give it a name and click Save.
- It now appears in the Globals tab and can be dragged onto any page.
Note: Changes to a global widget affect every page it appears on. Avoid editing globals unless you intend to update all instances at once. Check with your administrator before making changes.
C. Adding an Element to Your Page
- Find the widget you want in the left panel.
- Click the widget to add it to the page. You can also click the + icon at the top of the page to add an element.
- Click the Edit icon on the element to open its settings and make your changes.
D. The Top Toolbar
The toolbar at the top of the Elementor editor gives you quick access to page settings and preview options.
Settings
Click the gear icon to open Post Settings — a panel on the left with four tabs:
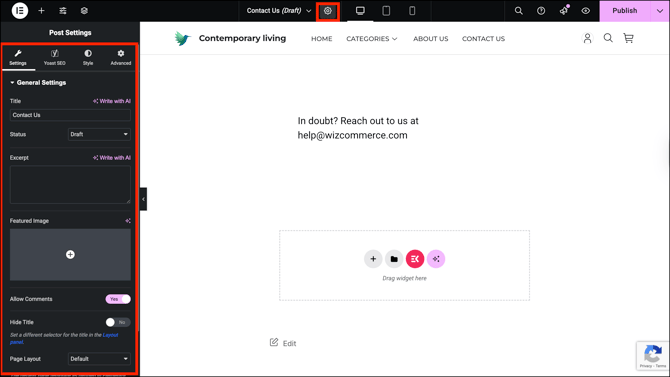
- Settings — controls general page options:
| Option | What It Does |
|---|---|
| Title | The name of the page |
| Status | Switch between Draft and Published |
| Excerpt | A short summary shown in search results and previews |
| Featured Image | The thumbnail shown when the page is listed or shared |
| Allow Comments | Toggle comments on or off for this page |
| Hide Title | Hides the page title from visitors on the live page |
| Page Layout | Controls the overall layout template applied to the page |
- Yoast SEO: Reviews your page's search optimisation and readability
- Style: Controls page-level styling such as background colour or padding
- Advanced: Additional layout and custom code options
Note: For most everyday edits, you only need the Settings tab. Leave Style and Advanced unchanged unless your administrator has advised otherwise.
Device Preview Icons
The three icons next to the gear icon let you preview how your page looks on different screen sizes:
- Desktop: The default view
- Tablet: Shows how the page appears on a tablet screen
- Mobile: Shows how the page appears on a phone screen
Note: Always check the mobile view before publishing. Most of your buyers will be viewing your storefront on their phones.
E. Understanding Page Layout
Before editing page layouts, understand the two types of pages you'll work with in WizShop:
- Blog Post Page: A piece of content, such as an article or update, published under a category and appearing in your blog feed. It is date-stamped and can be tagged, categorised, and listed alongside other posts.
- Standalone Page: An independent page on your website, such as Contact Us or About Us. It does not appear in the blog feed, is not tied to any category or date, and is accessed directly through its URL.
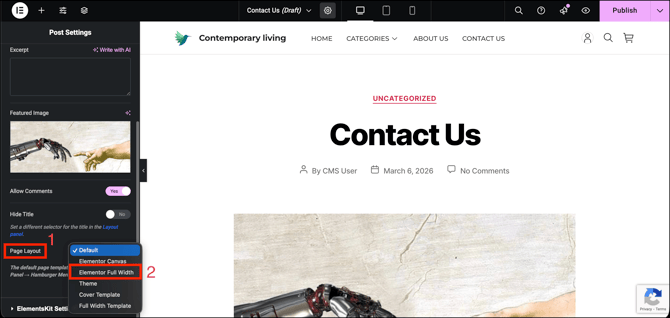
Page Layout controls how a page is structured when edited:
- Use Default for blog posts — it keeps the standard header and footer.
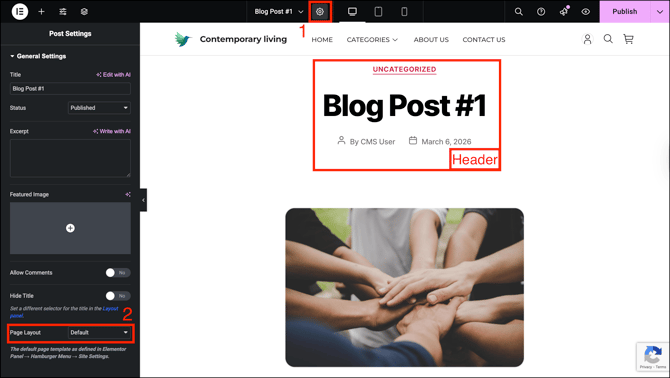
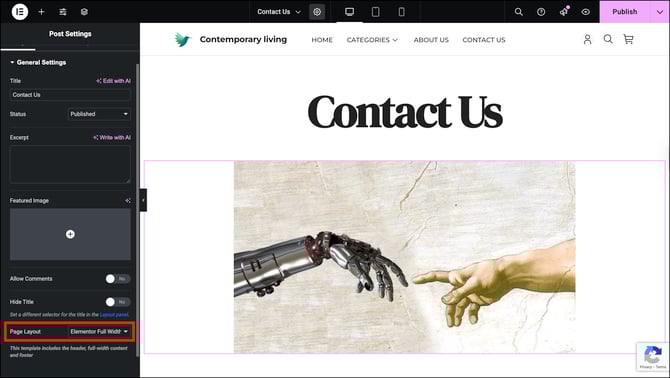
- Use Elementor Full Width for standalone pages. It removes the default header and footer, giving you a blank canvas to design from scratch.
Note: Publishing a blog post does not make it automatically visible to your customers. Link to it somewhere on your site, such as through a text link, image, or button, to make it accessible.
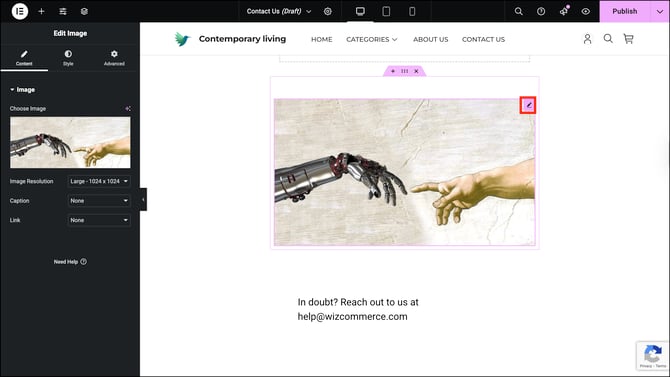
F. Editing an Existing Element
Click on any widget on your page. The left panel switches to Widget Editor with three tabs: Content, Style, and Advanced.
Content Tab
Edit the actual text of the element here. The toolbar at the top gives you standard formatting options:
| Option | What It Does |
|---|---|
| Paragraph dropdown | Sets the text style, Paragraph for body text, or Heading 1–6 for titles |
| Link icon | Adds a hyperlink to selected text |
| List icons |
Adds a bulleted or numbered list |
| Visual / Code |
Toggle between the visual editor and raw HTML view |
| Edit with AI | Uses AI to help rewrite or generate the text |
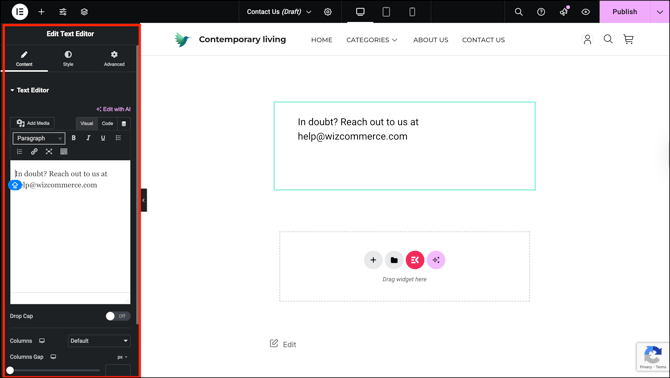
Type and edit your content directly in the text area below the toolbar. Changes appear on the page in real time.
- Drop Cap: Makes the first letter of the text block larger for a decorative effect
- Columns: Splits the text block into multiple columns side by side
- Columns Gap: Controls the spacing between those columns
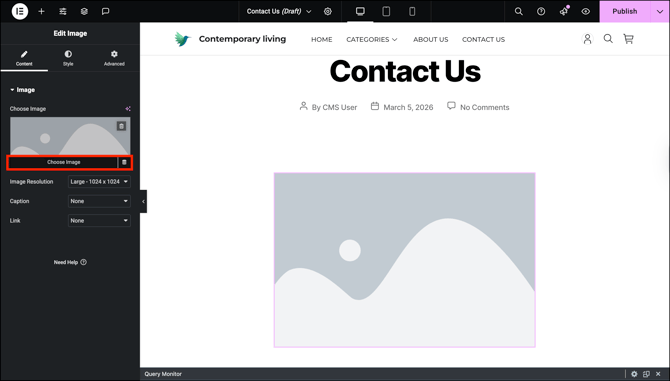
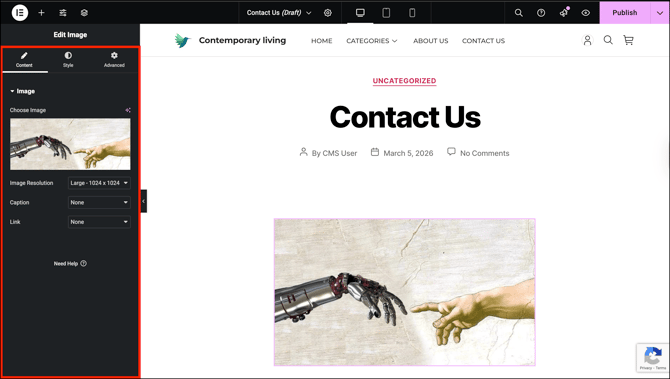
Content Tab for Image:
| Setting | What It Does |
|---|---|
| Choose Image | Replace the current image by uploading a new one or selecting from your media library |
| Resolution |
Controls the size of the image loaded on the page (e.g. Large – 1024 x 1024) |
| Caption | Adds a text caption below the image |
| Link | Turns the image into a clickable link that redirects visitors to a URL or media file. |
Style Tab
Controls how the element looks, such as colours, fonts, borders, and spacing.
Advanced Tab
Controls how the element is positioned on the page, such as margins, padding, and layout behaviour. Leave this unchanged unless your administrator has advised otherwise.
G. Draft Your Page
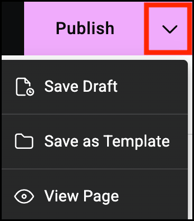
- Click Publish in the top-right corner when you're done making changes to make them live.

- Click the dropdown next to the Publish button for three more options:
- Save Draft: Saves your changes without making them live. The page stays hidden from visitors until you publish it.
- Save as Template: Saves the current page layout as a reusable template you can apply to other pages.
- View Page: Opens the live version of the page in a new tab so you can see how it looks to visitors.
Note: Before publishing, use the device preview icons in the top toolbar to check how your page looks on desktop, tablet, and mobile.
H. Unpublish a Page
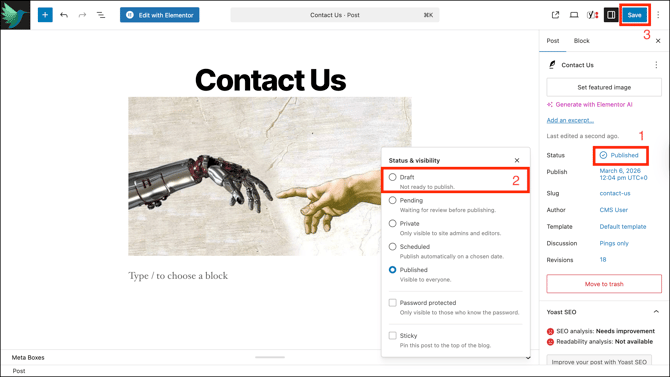
To Unpublish a page, change its status to Draft.
- Open the page in the WordPress editor.
- Click Post in the right-hand panel.
- Next to Status, click Published to open the Status & Visibility panel.
- Select Draft to unpublish the page. It will no longer be visible to visitors on your site.
- Click Save to confirm.
FAQs
1. What happens if I edit an Elementor page using the WordPress editor?
A. Editing an Elementor page through the WordPress editor can break the page layout. Always use Edit with Elementor for pages originally built with Elementor.
2. How do I check what my page looks like on mobile before publishing?
A. Use the device preview icons in the top toolbar of the Elementor editor. Click the mobile icon to see how the page appears on a phone screen before you publish.
3. What is the difference between Save Draft and Publish?
A. Save Draft saves your changes but keeps the page hidden from visitors. Publish makes the page live and visible to anyone who visits your site.
Not finding what you need? Browse the WizCommerce Help Center, reach out to your Customer Success Manager, or contact our Support Team.