
The Integration Dashboard is where you monitor all data moving between your ERP and WizCommerce. Use it to check when the last sync ran, trigger a manual sync for any data type, and investigate why a specific record failed to push through.
Platform: WizOrder | Who is this for: Admin
To Get There: Integration > IX Dashboard
Table of Content
| Sections | Topics |
| A | What is the Integration Dashboard? |
| B | Sync History |
| C | Control Panel |
| D | Sync Failures |
| E | Understanding Sync Statuses |
| F | FAQs |
Before You Begin
- You must have Admin access to view the Integration Dashboard.
- The Control Panel tab is not visible by default, contact the WizCommerce support team at help@wizcommerce.com to have it enabled for your account.
- You can only run one sync at a time. You cannot trigger two syncs simultaneously — wait for the active sync to complete before starting another.
A. What is the Integration Dashboard?
The Integration Dashboard gives you full visibility into how your data moves between your system and WizCommerce. It is organized into three tabs:
To open the Integration Dashboard:
- Log in to WizCommerce and click Integration in the left navigation.
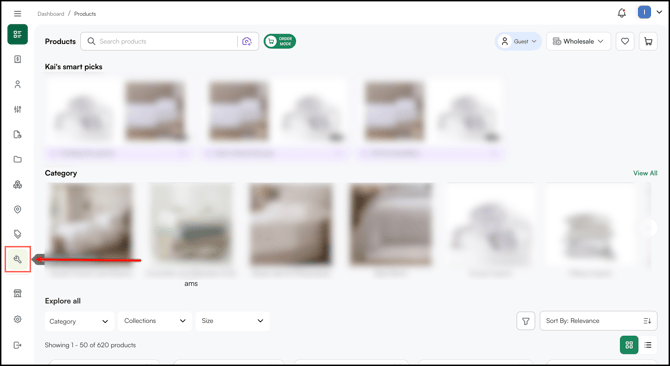
- You will land on the Sync History tab by default.
Note: If you do not see Integration in your left navigation, you may not have the required administrator permissions. Contact your admin or reach out to help@wizcommerce.com.
Before you start, here is what each page in the Integration Dashboard does.
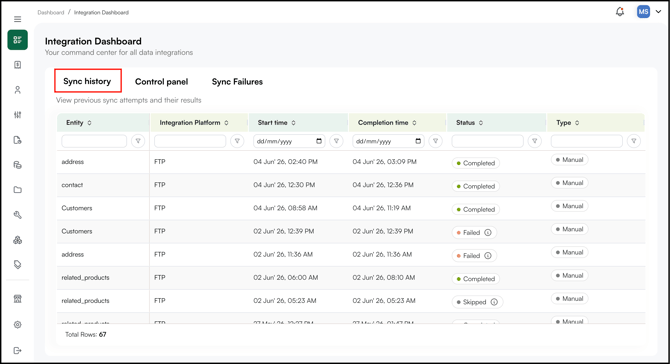
- Sync History: A log of every sync job that has run, including when it ran and what data it processed
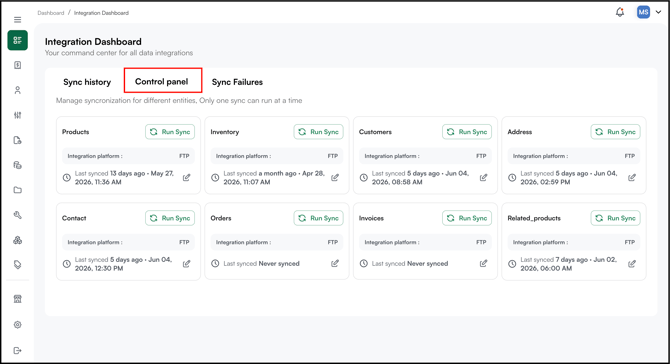
- Control Panel: Lets you manually trigger a sync for any specific data type, such as customers, orders, or products.
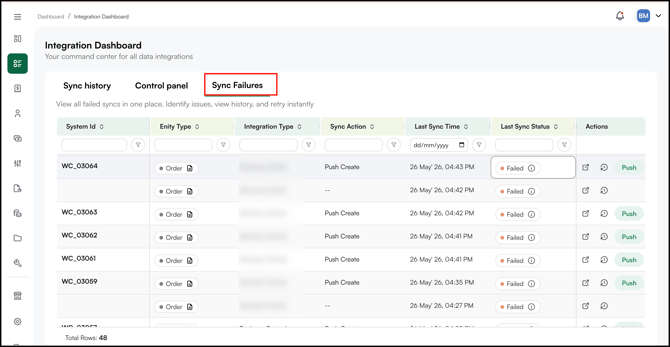
- Sync Failures: A. list of records that failed to sync, with details on why each one failed.
B. Sync History
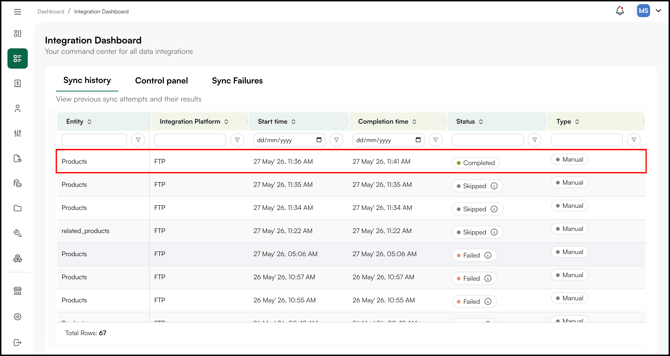
The Sync History tab shows a latest log of all sync jobs. Each row represents one sync event and displays:
- Go to the Integration Dashboard and click the Sync History tab.
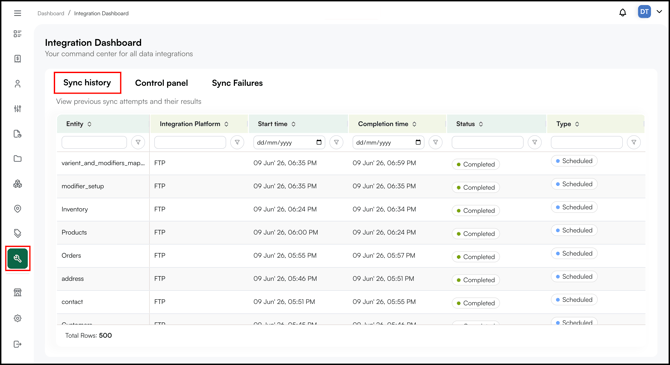
- Check the Entity Type column to identify which data type (Customer, address, etc) was synced. Use this column to quickly filter your view if you are looking for a specific type, such as Products or Customers.
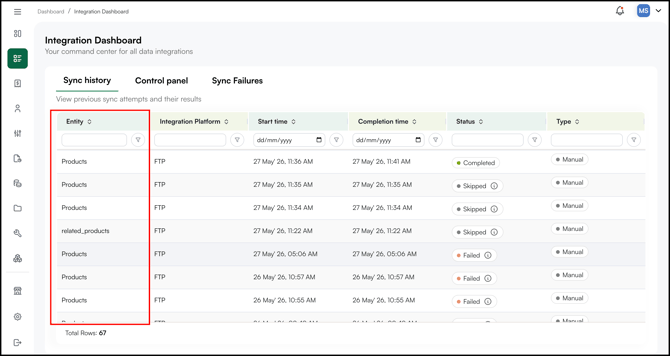
- Check the Integration Type column to confirm which method was used for the sync (FTP, Business Central, NetSuite, etc ).
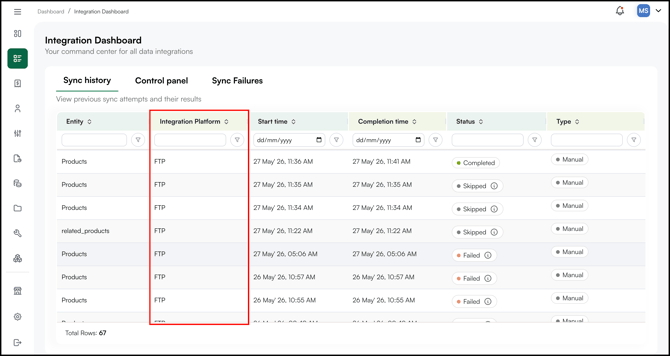
- Check the Last Start time column to see when the sync was started.
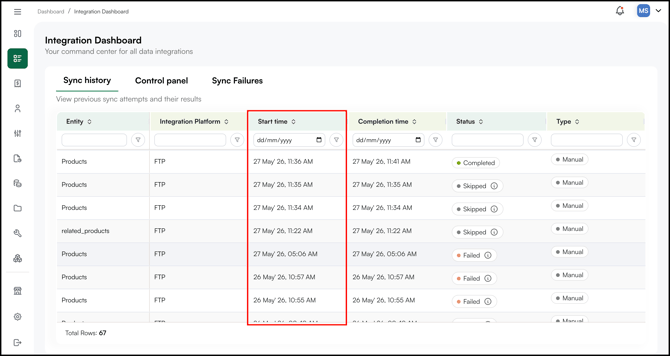
- Check the Last Completion time column to see when the sync was ended.
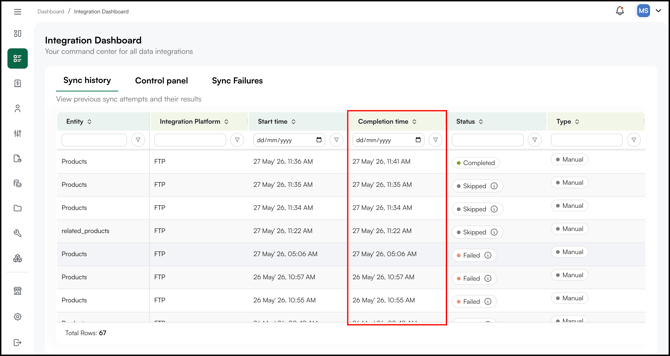
- Check the Sync Status column for the outcome of each job.
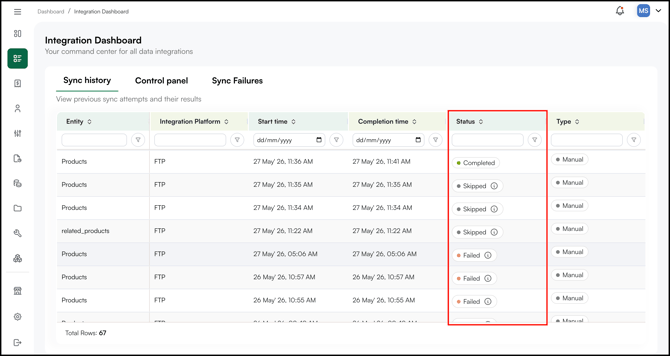
- Completed: The sync ran successfully and all data was processed without errors.
- In Progress: The sync is currently running. Wait for it to finish before triggering another sync for the same entity type.
- Skipped: No new or changed records were found at the time the sync ran. This is not an error and requires no action.
- Failed: The sync ran but could not process one or more records. Click the ⓘ icon to see the error reason, correct the source data, and trigger a new sync.
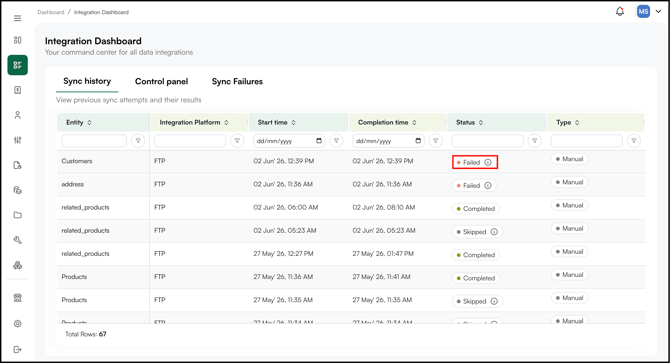
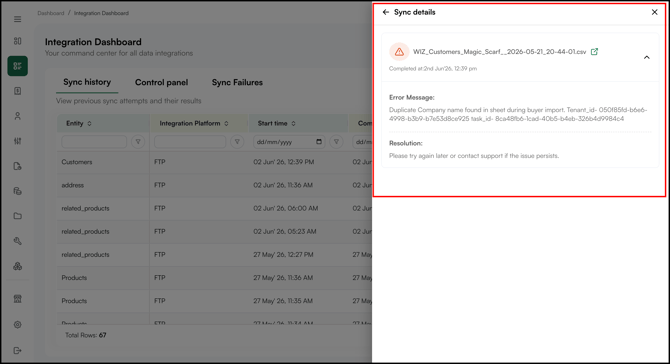
Note: A status of Skipped means WizCommerce found no new or changed records in your FTP file at the time of the scheduled sync. This is not an error and requires no action.
C. Control Panel
The Control Panel tab lets you manually trigger a sync for a specific data type without waiting for the next scheduled run. Use this when you have uploaded a new FTP file and want to push it through immediately.
Note: The Control Panel tab is not visible by default. If you do not see it, contact the WizCommerce support team at help@wizcommerce.com to have it enabled for your account. After it is enabled, refresh your browser.
How to trigger a manual sync
- Go to the Integration Dashboard and click the Control Panel tab.
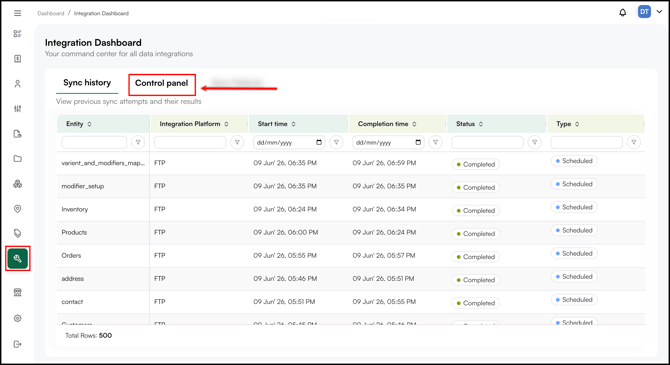
- Control Panel →
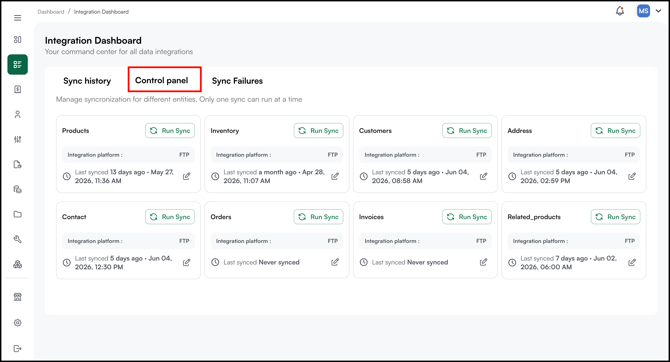
- Locate the entity type you want to sync (e.g., Products, Customers, Orders, etc).
- Click Run Sync next to that entity.
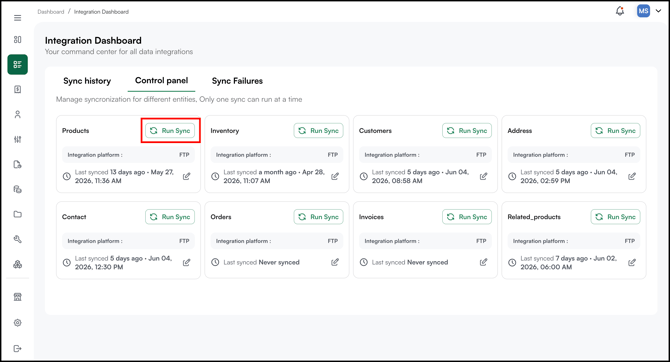
- Go to the Sync History tab to monitor the job. A new row will appear at the top and the status will update once the sync completes.
Note: You can manually sync any entity type that's been set up for your account, such as Products, Inventory, Customers, Orders, Invoices, Shipments, Pricelists, Categories, and Collections, etc.
D. Sync Failures
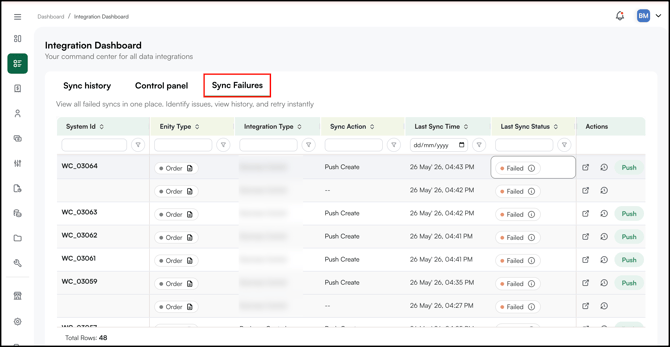
The Sync Failures tab shows specific record that failed to sync, along with details on what went wrong. Use this tab to identify and resolve data issues before they affect your orders or customer records.
- Go to the Integration Dashboard .
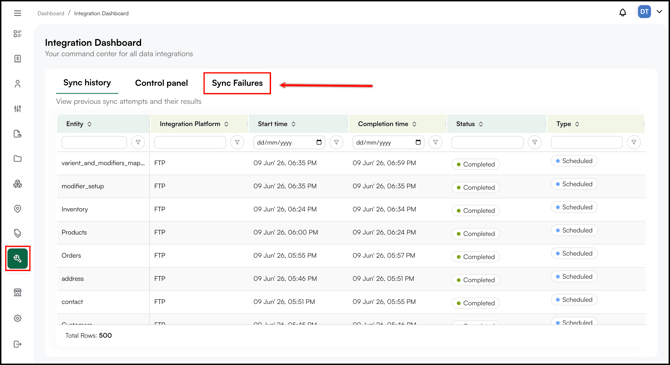
- Then click the Sync Failures tab.
-
Each row in the Sync Failures tab displays:
-
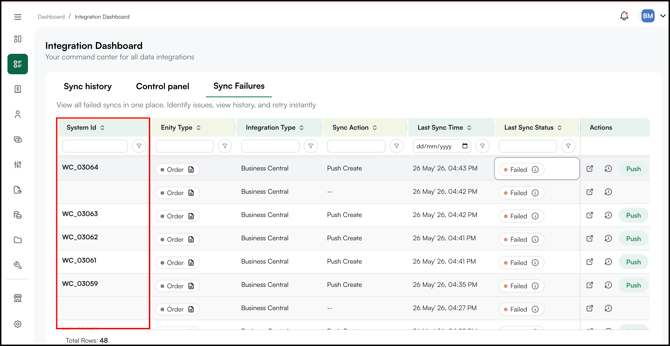
System Id: The unique identifier for the record that failed (e.g., WC_03113, WC_03065). Rows without a System Id indicate the record could not be identified at the point of failure.
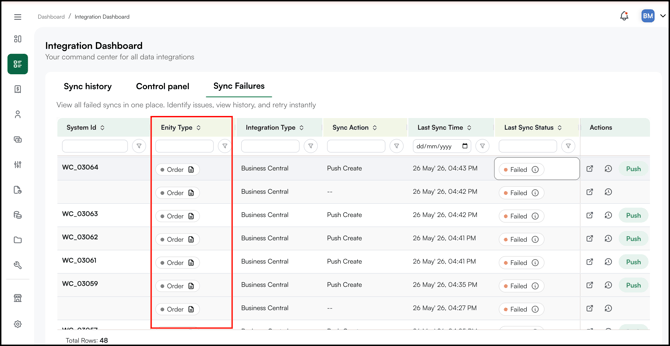
- Entity Type: The type of record that failed to sync (e.g., Order, Customer, Product)
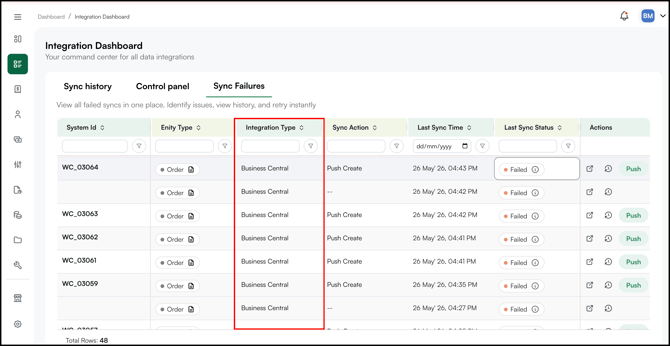
- Integration Type: The type of integration used to sync the record (e.g., FTP, Business Central)
- Sync Action: Whether the record was being pushed to your ERP or pulled into WizCommerce (e.g., Push Create).
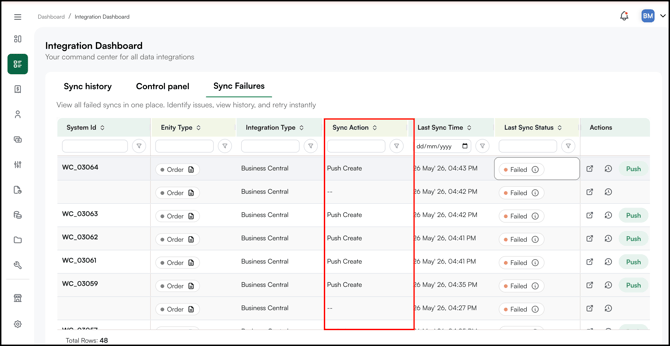
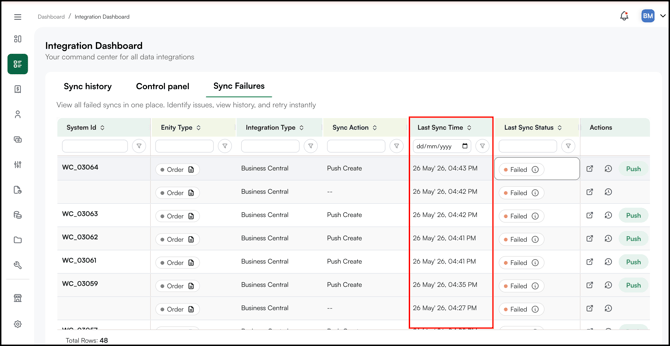
- Last Sync Time: The date and time the failure occurred
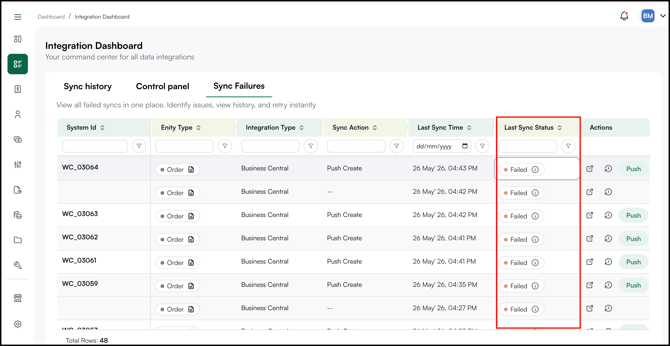
- Last Sync Status: Will always show Failed on this tab
- Actions: Three options are available for each record:
- Click the external link icon to open the record payload, which shows the data sent from WizCommerce to your ERP.
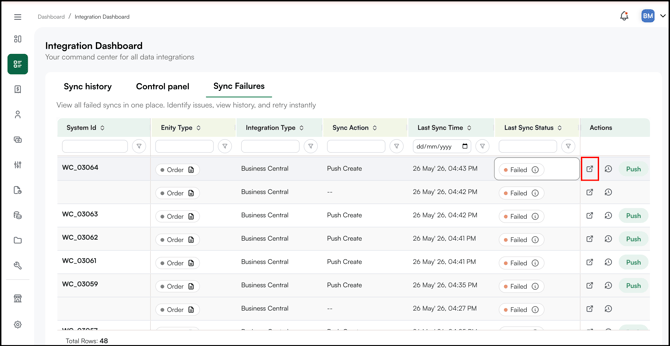
- Click the history icon to view the full sync history for that record
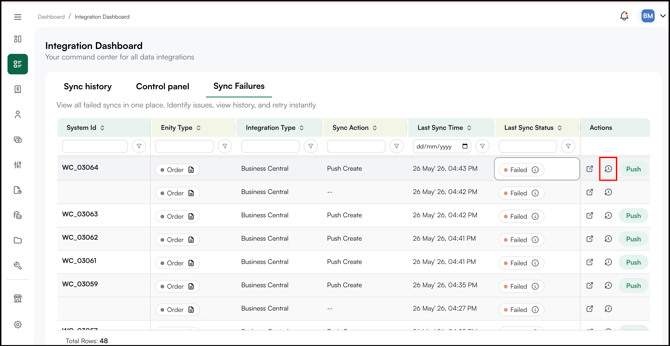
- Click Push to retry pushing the record to your ERP after you have corrected the source data
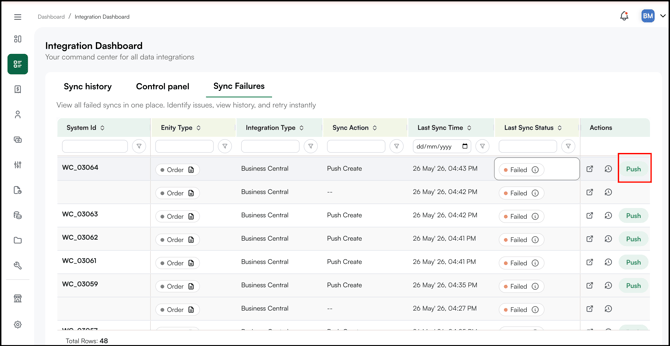
- Click the external link icon to open the record payload, which shows the data sent from WizCommerce to your ERP.
-
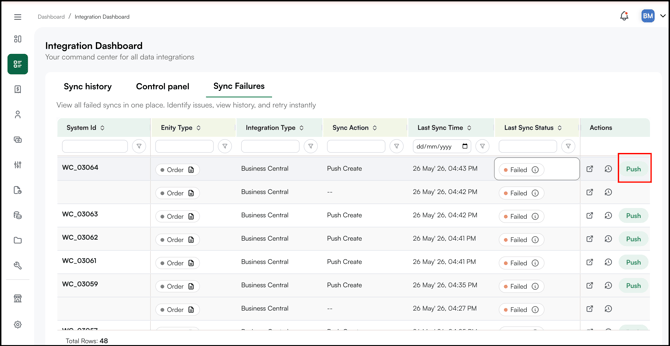
- Fix the error in your source data first. When you are ready, click Push again to re-try syncing (post error has been resolved) the record to your ERP.
- Monitor the sync status.
Note:
-
Sync failures do not retry automatically. You must correct the source data and trigger a new sync manually from the Control Panel.
- If you have updated any data in your system and want it reflected in WizCommerce immediately, go to the Control Panel tab and click Run Sync next to the relevant entity (products, inventory, buyers, orders, and so on).
E. Understanding Sync Statuses
Every sync run in the Sync History tab shows one of four statuses: Completed, Skipped, Failed, or In Progress. Knowing what each status means helps you catch real issues quickly and avoid acting on statuses that need no response.
Completed
The sync ran successfully. Records were checked and, where relevant, updated between WizCommerce and your ERP. No action needed.
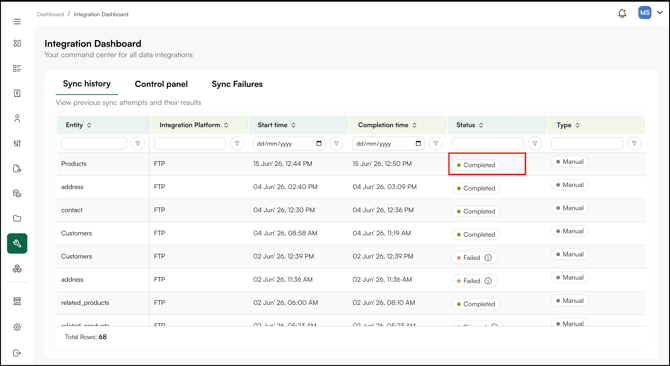
Note: A Completed sync does not always mean records were changed. If your data was already up to date, the sync completes with no updates, this is expected behavior.
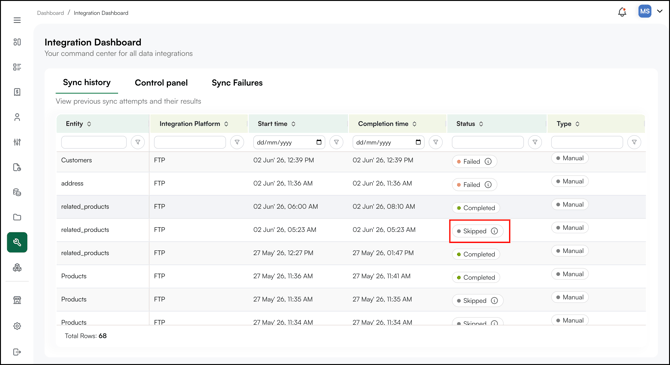
Skipped
A Skipped status can mean one of three things. Check the sync entry details to identify which applies.
| Reason | What it means | What to do |
|---|---|---|
| No file in FTP | No new file was found in the FTP folder for this sync run. There was nothing to process, so the sync was skipped. | No action needed. Upload a file to the FTP folder if you expected data to sync. |
| No updates since last sync | WizCommerce checked the records and found no changes. Nothing was sent because nothing changed. | No action needed. |
| Another sync already running | A sync was active when this run was triggered. The second run was skipped to prevent conflicts. | Wait for the active sync to complete. The next scheduled run will proceed normally. |
Note: Skipped is not an error. In most cases, it means the sync ran correctly and found nothing to do. Only act if you expected a specific record to sync and it did not appear in your ERP. Click the i icon to see exactly why an entry was skipped.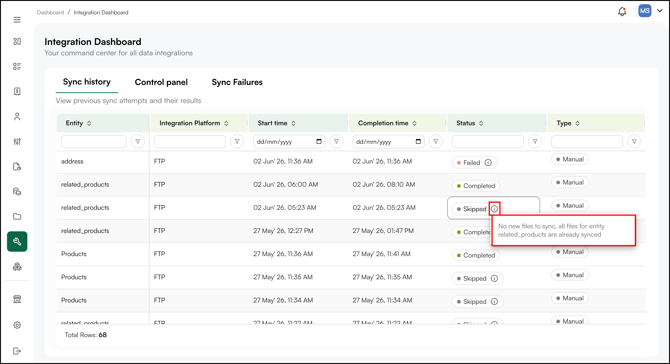
Failed
The sync encountered an error and one or more records were not sent to the ERP. Go to the Sync Failures tab to see which records failed and the reason for each.
Common causes include:
- Missing related data: A record could not sync because a linked record was not found in WizCommerce. For example, an invoice sync fails if the related order does not exist in WizCommerce.
- Timeout: The sync ran for more than 600 minutes and was automatically killed.
- Mismatched or missing field values: Required data on a record is incorrect or incomplete.
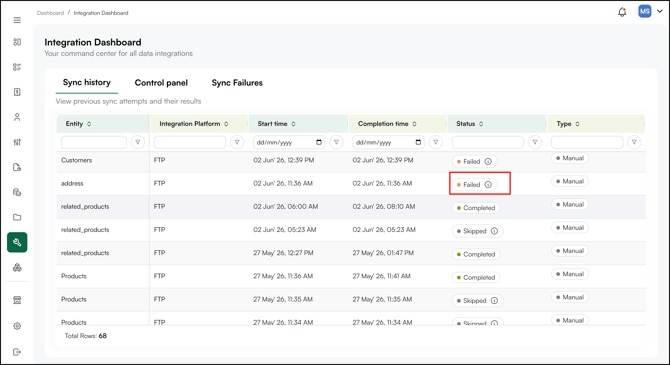
Note: A single failed record does not fail the entire sync run. Other records in the same run may have synced successfully. Click the ⓘ icon next to any entry to see the exact reason for the failure.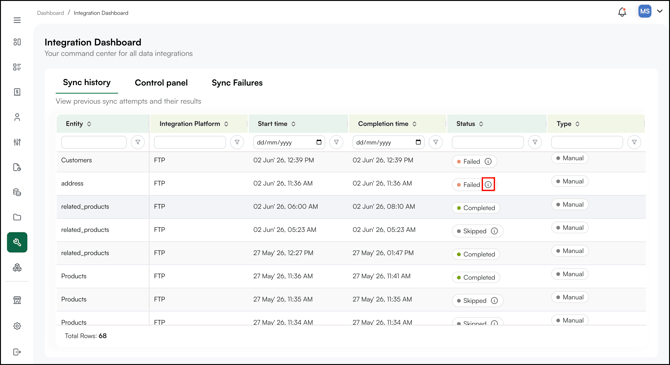
In Progress
The sync is currently running. No action needed. Avoid triggering a manual sync while this status is active, a second sync triggered during an active run will be marked as Skipped.
Quick Reference
| Status | What it means | Action needed? |
|---|---|---|
| Completed | Sync ran successfully | No |
| Skipped — No updates | No changes found since last sync | No |
| Skipped — Sync running | Another sync was active; this run was skipped | No |
| Failed | Error prevented one or more records from syncing | Yes — check Sync Failures tab |
| In Progress | Sync is currently running | No — wait for it to complete |
FAQs
1. What is the difference between Failed and Skipped in Sync History?
A. Failed means the sync ran but could not process a record, something in the data prevented it from going through. Click the ⓘ icon next to the status to see the specific reason. Skipped means no new or changed records were found at the time the sync ran, so there was nothing to process. Skipped is not an error and requires no action.
2. I triggered a sync from the Control Panel, how do I know it worked?
A. Go to the Sync History tab immediately after triggering. A new row will appear at the top for the entity you synced. Once the job finishes, the Last Sync Status column will update to Completed, Failed, In Progress or Skipped. If it shows Failed, click the ⓘ icon to see the reason.
3. A record keeps appearing in Sync Failures even after I correct the data, what should I do?
A. After correcting the data in your source system, click Push in the Sync Failures tab to retry that specific record. If it continues to fail, the issue may be in your ERP or in the data mapping between your ERP and WizCommerce. Contact help@wizcommerce.com with the System Id from the Sync Failures tab so the team can investigate.
4. An order failed to sync because the customer does not exist in my ERP, what do I do?
A. This can happen when a customer is created in WizCommerce and an order is placed for them before the customer record has finished syncing to your ERP. Do not manually re-enter the order in your ERP before resolving the sync, this can create duplicate orders. Check the Sync Failures tab for the customer record first, resolve that failure, and then retry the order sync using the Push button.
5. What if I upload a shipment file before the orders are synced into WizCommerce?
A. Uploading a shipment file before syncing the orders into WizCommerce may cause the shipment sync to fail. Always sync all orders into WizCommerce before uploading the shipment file.
6. Can I manually push or sync data in WizCommerce?
A. Yes, you can manually trigger a sync from the Integration Dashboard. Go to the Control Panel tab, find the entity you want to sync (Products, Inventory, Customers, etc.), and click Run Sync. Refer to Integration Dashboard for more details.
7. Why is my sales rep not syncing correctly from my ERP?
A. Sales rep mapping for your ERP is handled by WizCommerce. If a rep is missing, showing as inactive, or not updating after a change in your ERP, contact help@wizcommerce.com with the rep's name, your ERP system (e.g., NetSuite, SAP), and a description of what's wrong. Do not manually edit rep data in WizCommerce, it will be overwritten at the next sync.
Still need help? Reach out to our support team at help@wizcommerce.com.