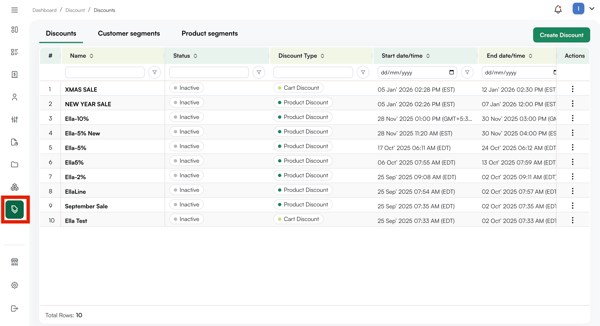
Discounts can be created at two levels:
- Product Discount: Apply a discount to specific products, categories, or collections
- Cart Discount: Apply a discount when a cart reaches a certain order value threshold
Applies to: WizOrder | User: Admins
A. How to Access the Discount Engine
- Go to Discount Engine from the left navigation.
Note: Configuring a discount is only available in the web portal app.
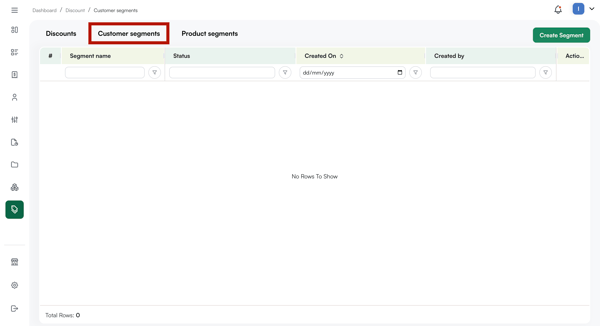
B. Create Customer Segments
Customer segments let you target specific groups of customers with discount rules. Once created, a segment can be selected as an eligibility condition when setting up a discount — so it's best to create your segments before building your discount rules.
- Go to Customer Segment and click Create Segment.
- Enter a name for the segment under Basic Details.
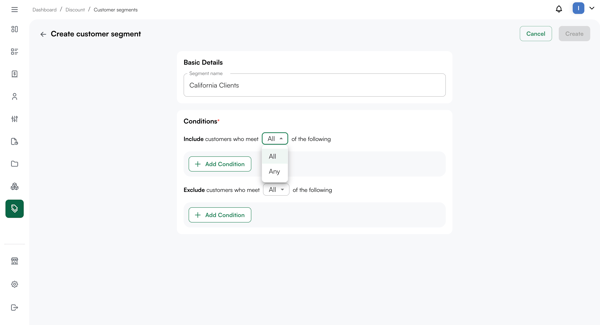
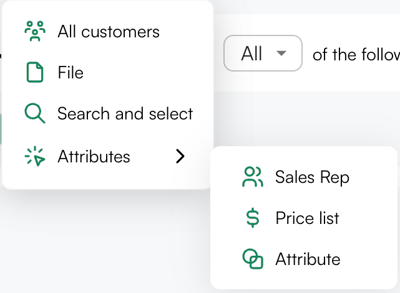
- Under Conditions, define which customers belong to this segment. You can add customers by:

- All Customers: Includes your entire customer base
- File: Upload a list of customers
- Search and Select: Manually search for and add specific customers
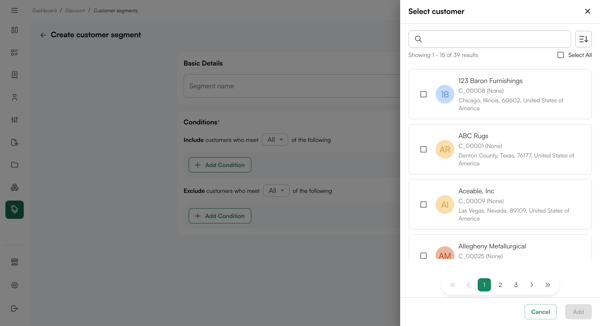
- Attributes: Filter by sales rep, price list, or customer attribute
- Choose how conditions are applied:
- Include All: Only customers who meet all conditions are added to the segment
- Include Any: Customers who meet any one of the conditions are added
- The same logic applies to Exclude All and Exclude Any
- Click on Create at the top right corner.
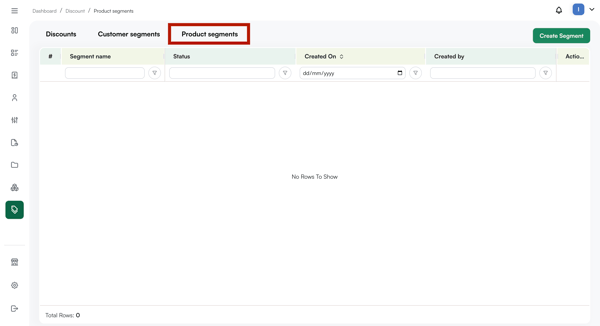
Your customer segment will be created and can be seen in the customer segment summary table view.
C. Creating Product Segments
Product segments let you target specific groups of products with discount rules — for example, applying a discount to an entire collection or category.
- Go to Product Segment and click Create Segment.
- Enter a name for the segment under Basic Details.
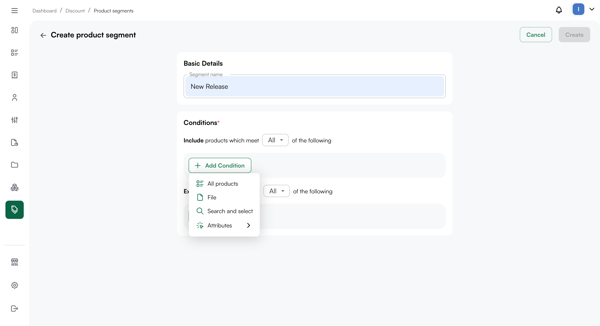
- Under Conditions, define which products belong to this segment. You can add products by:
- All Products: Includes your entire product catalog
- File: Upload a list of products
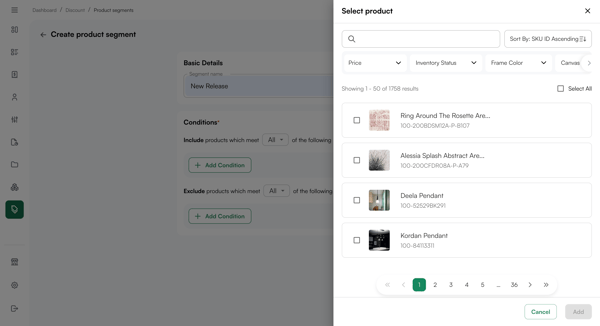
- Search and Select: Manually search for and add specific products
- Attributes: Filter by category, collection, or other product attribute
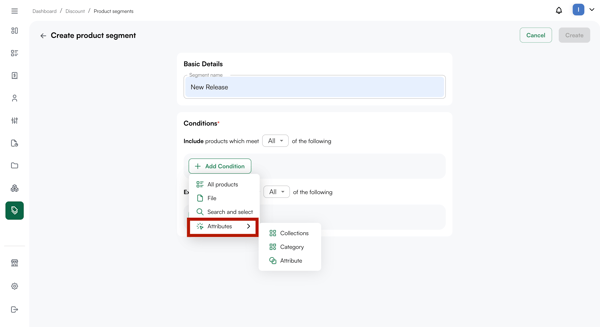
- Apply the same Include All / Include Any logic as customer segments to define how conditions are combined.
Tip: Create your customer and product segments before building discount rules, this way your segments are ready to select when you configure eligibility during discount setup.
D. How to Stop a Discount
This applies to both Product and Cart discounts.
- Click on the discount name in the Name column to open it.

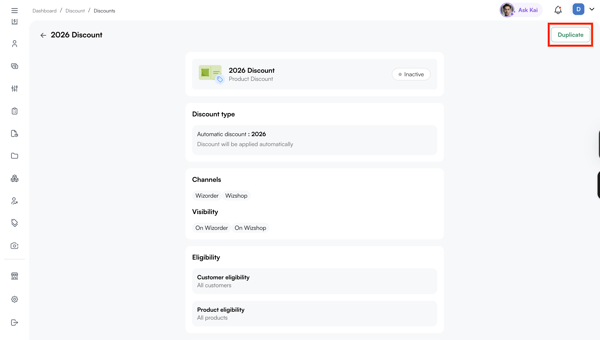
- Click the three-dot menu at the top left of the discount page.
- Select Stop.

Note: You can duplicate an inactive discount (Stopped discount), by clicking on Duplicate. Then make changes, if any, and publish.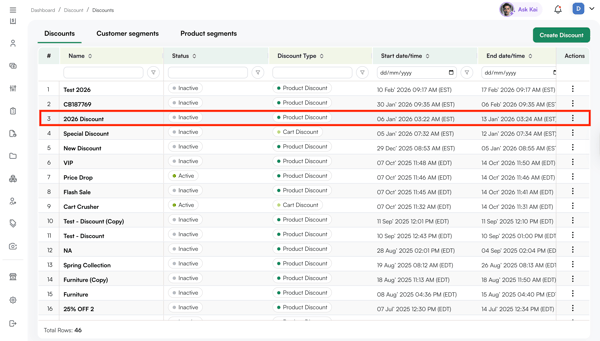
Not finding what you need? Browse the WizCommerce Help Center, reach out to your Customer Success Manager, or email us at help@wizcommerce.com.