Blog posts on your WizShop website are built using WordPress blocks. Each block is a separate content element — a heading, a paragraph, or an image — that you can add, move, or remove without affecting the rest of the page.
Platform: WizShop | Who is this for: Admins
To Get There: WordPress Dashboard > Posts > Add Post
Before You Begin
- Make sure you have access to your WordPress admin panel. Use the login link shared during onboarding or go to yourcompanyname.com/wp-admin.
- Use the Elementor editor to edit content — not the WordPress editor — to avoid accidentally overwriting pages.
Note: Changes saved in the WordPress editor can accidentally convert a page into a template, leading to overwritten content and duplicate pages.
A. Understanding WordPress Blocks
In WordPress, everything on a page is built using blocks. Each block is a separate content element — think of it like arranging items on a shelf. Each item sits in its own space, can be moved or replaced without affecting the others, and together they make up the full display.
For example: a heading block for your title, a paragraph block for your body text, an image block for visuals, and so on.

When you open a new blog post, you see a heading block and a text box, along with a + icon to add more blocks. Click the + icon to add a block. If you don't see the + icon, type / anywhere on the page and the block options will appear.
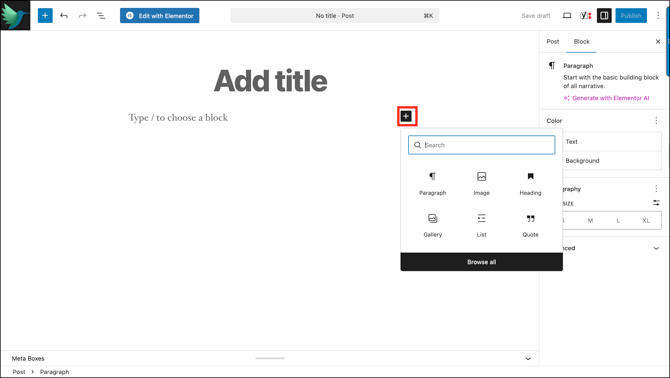
Here are the most common blocks you'll use:
| Block | What It Is | What It Does |
|---|---|---|
| Paragraph | Adds a regular text block. | Use this for body copy and general content |
| Heading | Adds a title or section header | Use this to break up your post into clear sections |
| Image |
Adds a single image |
Upload from your computer or choose from your media library |
| Gallery | Use previously uploaded images | Useful for product shots or team photos |
| List | Adds a bulleted or numbered list | Useful for features, steps, or key points |
| Quote | Adds a styled quote or testimonial | Useful for highlighting customer feedback |
Note: If you are not sure which block to use, start with Paragraph for text and Image for visuals — these two cover most everyday writing needs.
B. Publish Your First Blog Post
Once you're familiar with blocks, write and publish your first post.
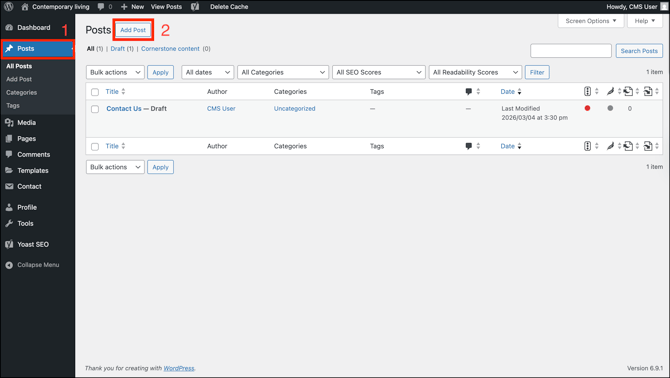
- From your dashboard, go to Posts → Add Post.
- Add your title in the Add Title field at the top.
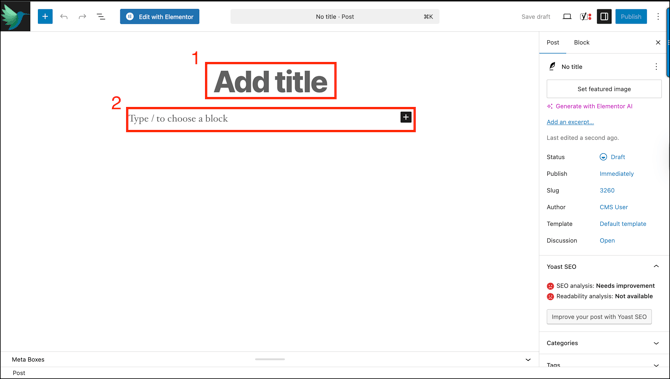
- Click Edit with Elementor at the top of the page to start writing your content.
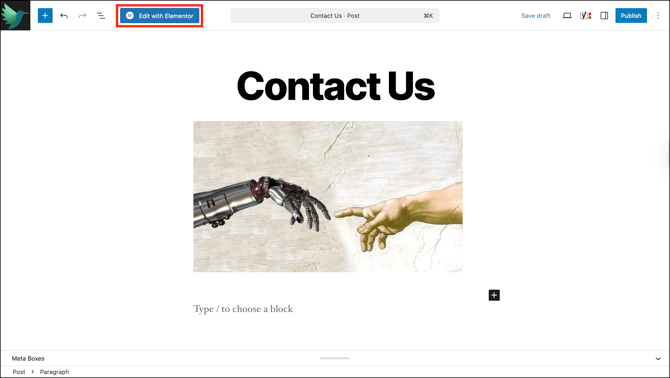
- Click Publish in elementor to save and publish your page. Once published, you can use the page's slug as a hyperlink to navigate to it.
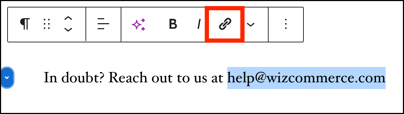
Note: To add a hyperlink to any text, select the text and click the Link button in the toolbar, or press Ctrl + K on your keyboard.
C. The Post & Block Panel
The panel on the right side of your editor has two tabs — Post and Block — that control different things depending on what you're doing.
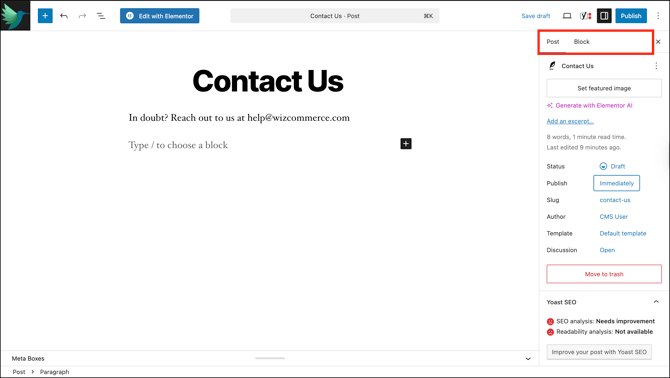
Post Tab
The Post tab controls settings for the entire page or post you're editing. Use it to:
- Set a featured image: The thumbnail shown when the post is listed or shared
- Add an excerpt: A summary of the page used in search results and previews
- Change the status: Switch between Draft and Published
- Set a publish date: Schedule when the page goes live
- Edit the slug: The URL of the page
- Change the author: The user credited for the post
- Switch the template: Controls the layout applied to the page
- Move to trash: Deletes the page
Note: Be careful while editing the slug on a live page. Changing it breaks any existing links pointing to that page. Check with your administrator before changing a slug.
Yoast SEO
- SEO Analysis: Checks how well the page is optimised for search engines and flags what needs improvement
- Readability Analysis: Reviews how easy the content is to read and understand
- Improve your post with Yoast SEO: Opens Yoast's full recommendations to help improve the page's search ranking
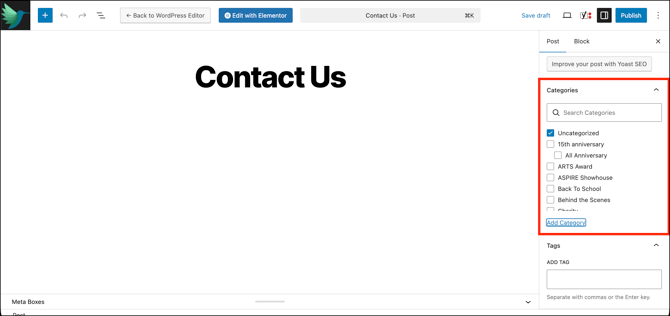
Categories and Tags
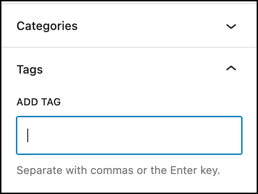
- Categories: Group your posts under a broad topic, making it easier for visitors to browse related content. Click the arrow to expand and select a category.
- Tags: Add specific keywords to your post to describe its content in more detail, helping visitors and search engines find relevant content. Type a tag and press Enter, or use a comma to add multiple tags at once.
Block Tab
The Block tab appears when you click on a specific element on the page — like a heading, image, or text block. It shows settings for just that element.
For a Text block
- Change the font size
- Change the text colour
- Give the block a background colour
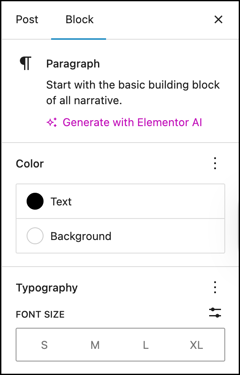
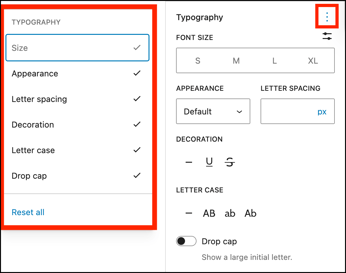
Enable more settings by clicking the three dots above the Typography section:
- Appearance: Sets the weight and style of the text, such as bold or italic
- Letter Spacing: Adjusts the space between individual characters
- Decoration: Adds a line under, through, or removes styling from the text
- Letter Case: Controls whether text appears in uppercase, lowercase, or title case
- Drop Cap: Makes the first letter of a paragraph oversized for a decorative effect
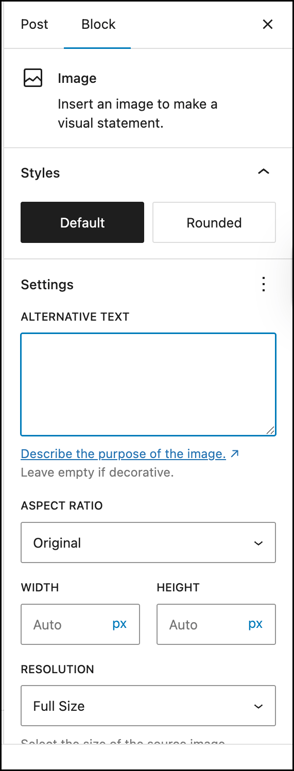
For the Image block
- Styles: Controls whether the image has straight edges (Default) or rounded corners (Rounded)
- Alternative Text: A short description of the image used by search engines and screen readers
- Aspect Ratio: Controls the proportional shape of the image, such as square or widescreen
- Width: Sets how wide the image appears on the page in pixels
- Height: Sets how tall the image appears on the page in pixels
- Resolution: Controls the quality and file size of the image loaded on the page
When nothing is selected on the page, the Block tab will be empty or greyed out.
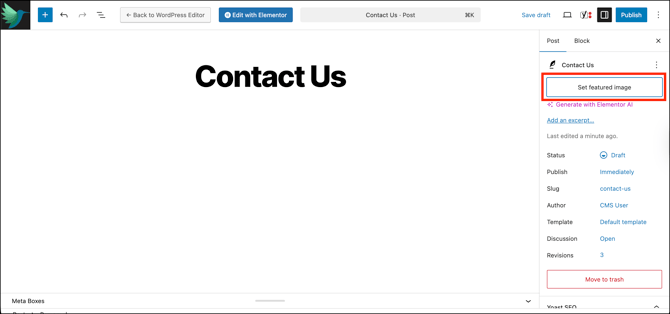
D. Set an Image as a Featured Image
A featured image is the main image associated with a page or post. It appears in previews, thumbnails, and anywhere the page is displayed across your site.
- Open the page in the WordPress editor.
- Click Post in the right-hand panel.
- Click Set Featured Image.
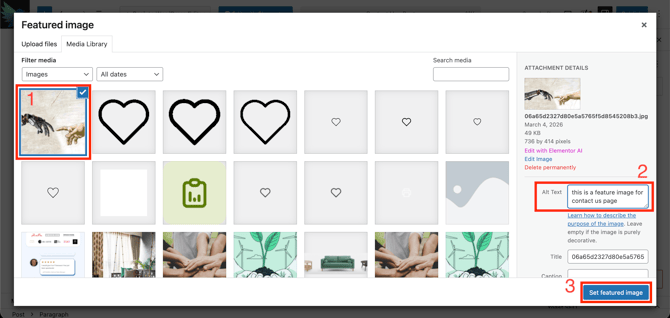
- Select an image from the Media Library, or click Upload Files to add a new one.
- Add a description in the Alt Text field to improve accessibility and SEO.
- Click Set Featured Image to confirm.
E. Adding Categories to a Post
Categories help organise your posts and make them easier to find on your site.
- Open the page or post in the WordPress editor.
- Click Post in the right-hand panel.
- Scroll down to Categories and select from the existing categories listed.
- To create a new category, click Add New Category.
- Enter a name for the category.
- If you want this category to sit under another category, select it from the Parent Category dropdown. For example, selecting Summer as the parent places your new category under it, like Summer > Accessories.
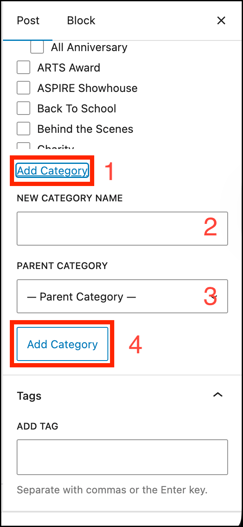
- Click Add Category to save. The new category is created and selected automatically.
Note: Categories can only be created and managed through the WordPress editor.
FAQs
1. Why should I use Elementor instead of the WordPress editor?
A. Saving changes in the WordPress editor can accidentally save a page as a template, which overwrites other pages and creates duplicates across your site. Elementor avoids this risk and gives you more control over the layout.
2. How do I add a link to text in my blog post?
A. Select the text you want to link, then click the Link button in the toolbar or press Ctrl + K on your keyboard. Paste or type the URL and confirm.
3. Can I schedule a blog post to publish later?
A. Yes. In the Post tab on the right-hand panel, click Set a publish date and choose when you want the post to go live.
Not finding what you need? Browse the WizCommerce Help Center, reach out to your Customer Success Manager, or contact our Support Team.